Are you willing to find out how to create an action in Photoshop easy and fast? Follow these 2 easy ways of recording, creating Photoshop actions and using them for batch editing.
There are two ways you can create action in Photoshop. The first one is for simple actions, the second one allows recording difficult, multi-step actions.
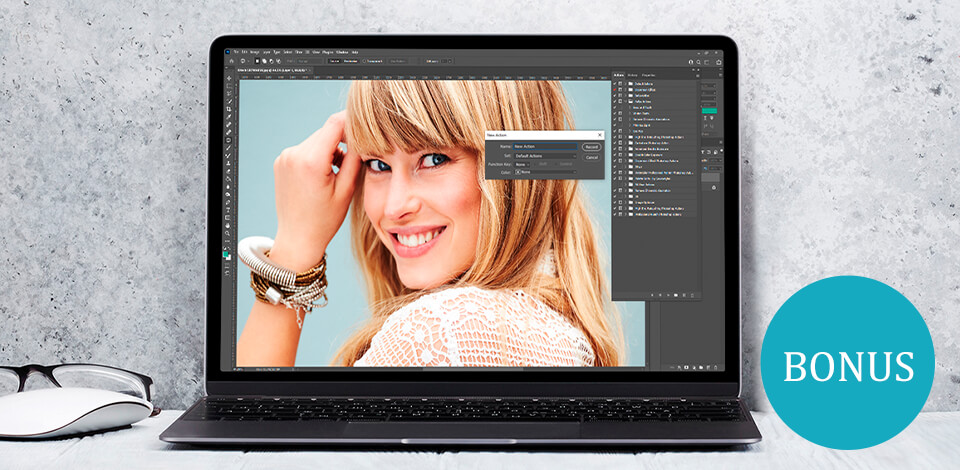
STEP 1. Start Photoshop and Upload Photos. Click on "Create New Action". If the Action Panel is not displayed on your screen, firstly click on the "Windows" button and then on "Actions" one at the top.

STEP 2. Select action parameters:
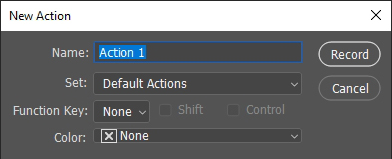
Name: Select a name for your action that you will associate with its function. For example, an action for cropping photos, giving them square shapes and correcting their colors can be named "Polaroid".
Action Set: This is a combination of actions which you can use together. You can create actions for layers, brightness, contrast and combine them into "Lighting Correction" set. If you are not sure about it or you are a beginner, you can always select "Default."
Function Key: With this parameter, you can match the action with the button on your keyboard. In this way, whenever you click the button, the action will be applied automatically.
Color: Color encodes a particular action and helps you detect it faster.
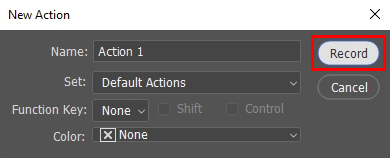
STEP 3. Click on "Record". When you record actions in Photoshop, it will remember the process you carry out as an action. When it starts recording, you will see a red button on the Photoshop Action Panel.
STEP 4. I advise you to perform some easy operations in order to find out how action in Photoshop works. For instance, you can click on the "Image" button, then select "Adjust", move on to "Brightness/Contrast" and practice there with buttons. Click "OK" each time you finish one or another operation.

You will both edit your picture and save these changes as an action. Such actions are named "Commands". The number of commands that you can create is unlimited. Each of them will be recorded as one action.
STEP 5. Stop recording to finish. You can find this button on the Action Panel or click on the red "Recording" button instead. The action will be saved.

STEP 6. Try this action on another photo. Upload another photo, click on the action in the Action Panel, then go to the "Play" button and the action will be enabled. The photo will be edited in the same way as the previous one since Photoshop carries out all the changes in the exact order you executed them.
By the way, you can create actions using this method even in the free version of Photoshop, so you don’t need to buy the subscription!
STEP 1. Click on the right triangle button right by your action in order to see its commands. Double-click a step to alter the values, un-check the box next to it to exclude it, then click and drag-and-drop steps in order to reverse their order.

Imagine you want to work with "Brightness" action but the photos are way too dark. No worries, you can customize the "Brightness/Contrast" command to add more light without the necessity to create a whole new action.
STEP 2. Insert a "Stop" to correct a photo in the middle of an action. "Stop" gives you an opportunity to tweak a photo or insert a specific command while working with an action. You can insert "Stop" by clicking on the command when you feel like stopping and go to "Add Stop" button in the Action Panel.

After you have finished, click on the "Play" button to continue the action where it stopped. Check "Allow Continue" box to continue the action without performing changes.
STEP 3. Modify settings using modal controls. With modal controls, you can customize particular commands when you work with an action.

Look for a command in the Action Panel. You will see a little gray or white dialogue window right by modal commands. Click on this window and turn on or turn off modal control. There’s an option to click on this window and turn all the commands into modal ones.
STEP 4. Click on "Playback Options" button in the Action Panel and set the speed. Select "Accelerated" to make it quicker. Due to this, Photoshop will not show each action but rather proceeds to the final photo when it’s done. If you would like to see each action, select "Step by Step" or "Wait ____ Seconds".

STEP 5. Save actions in ".atn" format. You are able to do it only having full action sets. Select "Save Action" if you want to have a copy of the action on your PC.
You can also save your actions into "Actions/Presets" folder in Photoshop and make these actions part of your program by default. In order to find this folder, look for it in "My Computer" or "Finder."

You are able to do it only having full action sets. Select "Save Action" if you want to have a copy of the action on your PC.
You can also save your actions into "Actions/Presets" folder in Photoshop and make these actions part of your program by default. In order to find this folder, look for it in "My Computer" or "Finder." This resembles the process when you install actions in Photoshop.
Speaking about photoshopping portraits, if you have images that share one and the same style, you should edit them in batches. Fortunately, the program offers a batch photo editing function. Using batch edit, you may apply similar actions to all the images you upload. You can actually do it to a full folder without the necessity to open pictures separately.
STEP 1. Select “File”, “Automate” and click on “Batch”. You don’t need to open any pictures in the program before performing this step.

STEP 2. You can pick to apply actions to photos from your computer or the ones you have already uploaded to Photoshop.
Personally, I always apply actions on previously uploaded pictures. That’s why at the end of the process, I just click ‘None’ and, as a result, my photos will be opened after applying the action. In this way, I am able to make some adjustments before I save them.
There you have it! Now relax and watch Photoshop do everything for you!
For those who don’t want to create an action in Photoshop by themselves, I suggest downloading this complect of wonderful Photoshop filters which can simplify your workflow in Photoshop. Using these tools, you can whiten teeth and change eyes color, create double exposure or perform other photo manipulations.